Creating an inviting outdoor space is easier than ever with vinyl pergola kits for sale at Atlantic Outdoors. These structures not only enhance the aesthetic of your yard but also provide a perfect spot for relaxation and entertainment. If you’ve purchased a vinyl pergola kit and are ready to transform your backyard, this step-by-step guide will help you assemble it like a pro.
Why Choose Vinyl Pergolas?
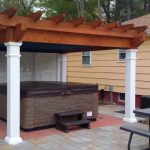
Before diving into the assembly, let’s discuss why vinyl pergolas are an excellent choice. Vinyl is durable, low-maintenance, and resistant to rot and insects, making it a long-lasting option for outdoor structures. Additionally, vinyl pergolas are available in various styles and colors, allowing you to customize your outdoor space to fit your personal taste.
Tools and Materials Needed
To ensure a smooth assembly process, gather the following tools and materials before you start:
- Tools:
- Drill
- Level
- Measuring tape
- Screwdriver
- Hammer
- Saw (if necessary)
- Materials:
- Vinyl pergola kit (check that all parts are included)
- Concrete mix (for securing posts)
- Gravel (for drainage)
- Optional: Paint or sealant (if desired)
Step 1: Choose the Right Location
Selecting the perfect spot for your vinyl pergola is crucial. Look for a level area that receives ample sunlight but also provides some shade. Consider proximity to your home for easy access and visual appeal. Once you’ve chosen the location, mark the corners of your pergola with stakes.
Step 2: Prepare the Ground
Clear the area of any debris, rocks, or vegetation. If your ground is uneven, you may need to level it out. After clearing, dig holes for the posts according to the specifications in your pergola kit. Typically, the holes should be about 2 feet deep to ensure stability.
Step 3: Set the Posts
Place a few inches of gravel at the bottom of each hole for drainage. Insert the posts into the holes, ensuring they are vertical using a level. Once positioned correctly, fill the holes with concrete mix, following the instructions on the package. Allow the concrete to set for at least 24 hours before proceeding to the next step.
Step 4: Assemble the Top Beams
After the posts are securely in place, it’s time to assemble the top beams. Refer to the instruction manual that comes with your vinyl pergola kits for sale to identify the correct beams. Attach the beams to the posts using the provided brackets and screws. Make sure everything is level and square before tightening the screws completely.
Step 5: Install the Crossbeams
Next, it’s time to add the crossbeams. These beams will provide additional support and stability to your pergola. Again, follow the instructions carefully, ensuring that each crossbeam is evenly spaced and securely attached. Use a level to check that everything is aligned properly.
Step 6: Add the Lattice or Roof Panels
Depending on the design of your vinyl pergola, you may have lattice panels or roof panels to install. If your kit includes lattice, attach it to the top beams using screws or brackets. This feature not only adds visual interest but also provides some shade. If you have roof panels, follow the same procedure for installation.
Step 7: Secure the Structure
Once all components are in place, double-check that everything is secure. Tighten all screws and bolts, ensuring that the structure is stable. If your pergola kit includes additional supports or braces, install them as directed to enhance the durability of your pergola.
Step 8: Finishing Touches
Now that your vinyl pergola is assembled, it’s time to add personal touches. Consider painting or sealing the vinyl if you want to customize the color or enhance its longevity. You can also add outdoor furniture, lights, or climbing plants to create a cozy atmosphere.
Maintenance Tips for Your Vinyl Pergola
To keep your vinyl pergola looking its best, regular maintenance is key. Here are some tips:
- Cleaning: Use a mild soap and water solution to clean your pergola periodically. Avoid harsh chemicals that could damage the vinyl.
- Inspect for Damage: Regularly check for any signs of wear or damage, especially after severe weather.
- Keep it Clear: Remove any debris, such as leaves or snow, from the top of the pergola to prevent excess weight.
Enjoy Your New Outdoor Space
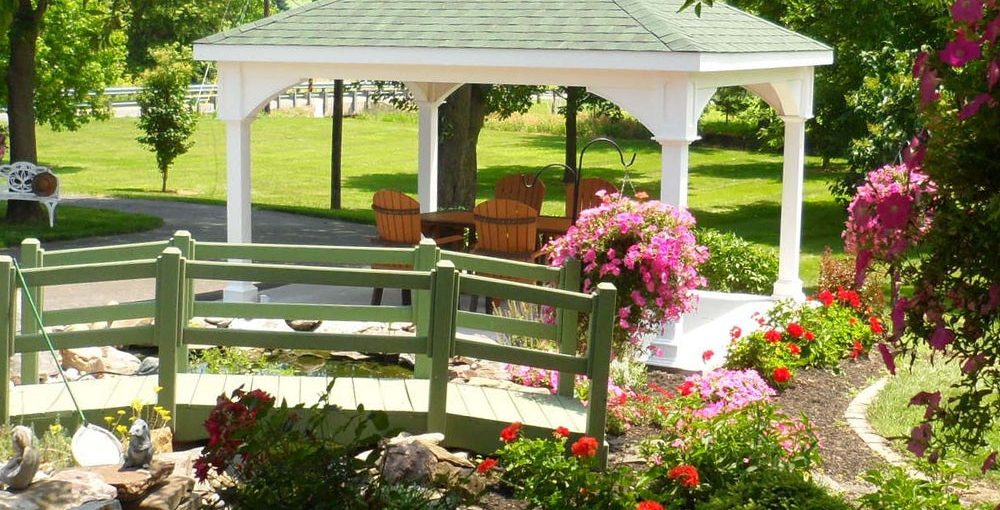
With your vinyl pergola successfully assembled, it’s time to enjoy your new outdoor oasis. Whether you’re hosting a barbecue, reading a book, or simply relaxing with friends and family, your pergola will serve as a beautiful backdrop for countless memories.
If you’re still considering whether to invest in a vinyl pergola, our vinyl pergolas kits for sale at Atlantic Outdoors offer a perfect blend of style, durability, and ease of assembly. Explore our selection today and take the first step toward transforming your backyard into a stunning retreat.
Ready to elevate your outdoor space? Visit us at Atlantic Outdoors and discover the perfect vinyl pergola kit for your home!